Around March of last
year I wanted to replace our aging dishwasher. Unfortunately when I
pulled the kick plate to take precise measurements for the new unit, I
discovered that the old unit had been leaking water every cycle for
quite some time. Long story short, the sub floor needed replacing. And
while it was one of the projects intended for the future, we took the
opportunity to move forward and make some additional changes and
upgrades to the entire kitchen.
Insurance
offered no assistance whatsoever, so we acted as our own general
contractor and jumped into it. We spent the next 5 weeks coordinating
and scheduling with a number of 3rd parties, as well as amassing the
necessary pieces/appliances and setting up a garage kitchen to work out
of for the next few months before starting the demolition in May. This blog posts the fruits of our efforts!
We had other outdoor projects going on, so we opted to tackle the finish work, like door molding and tile backsplash, during the winter. Hence the completion date of February of this year. :)
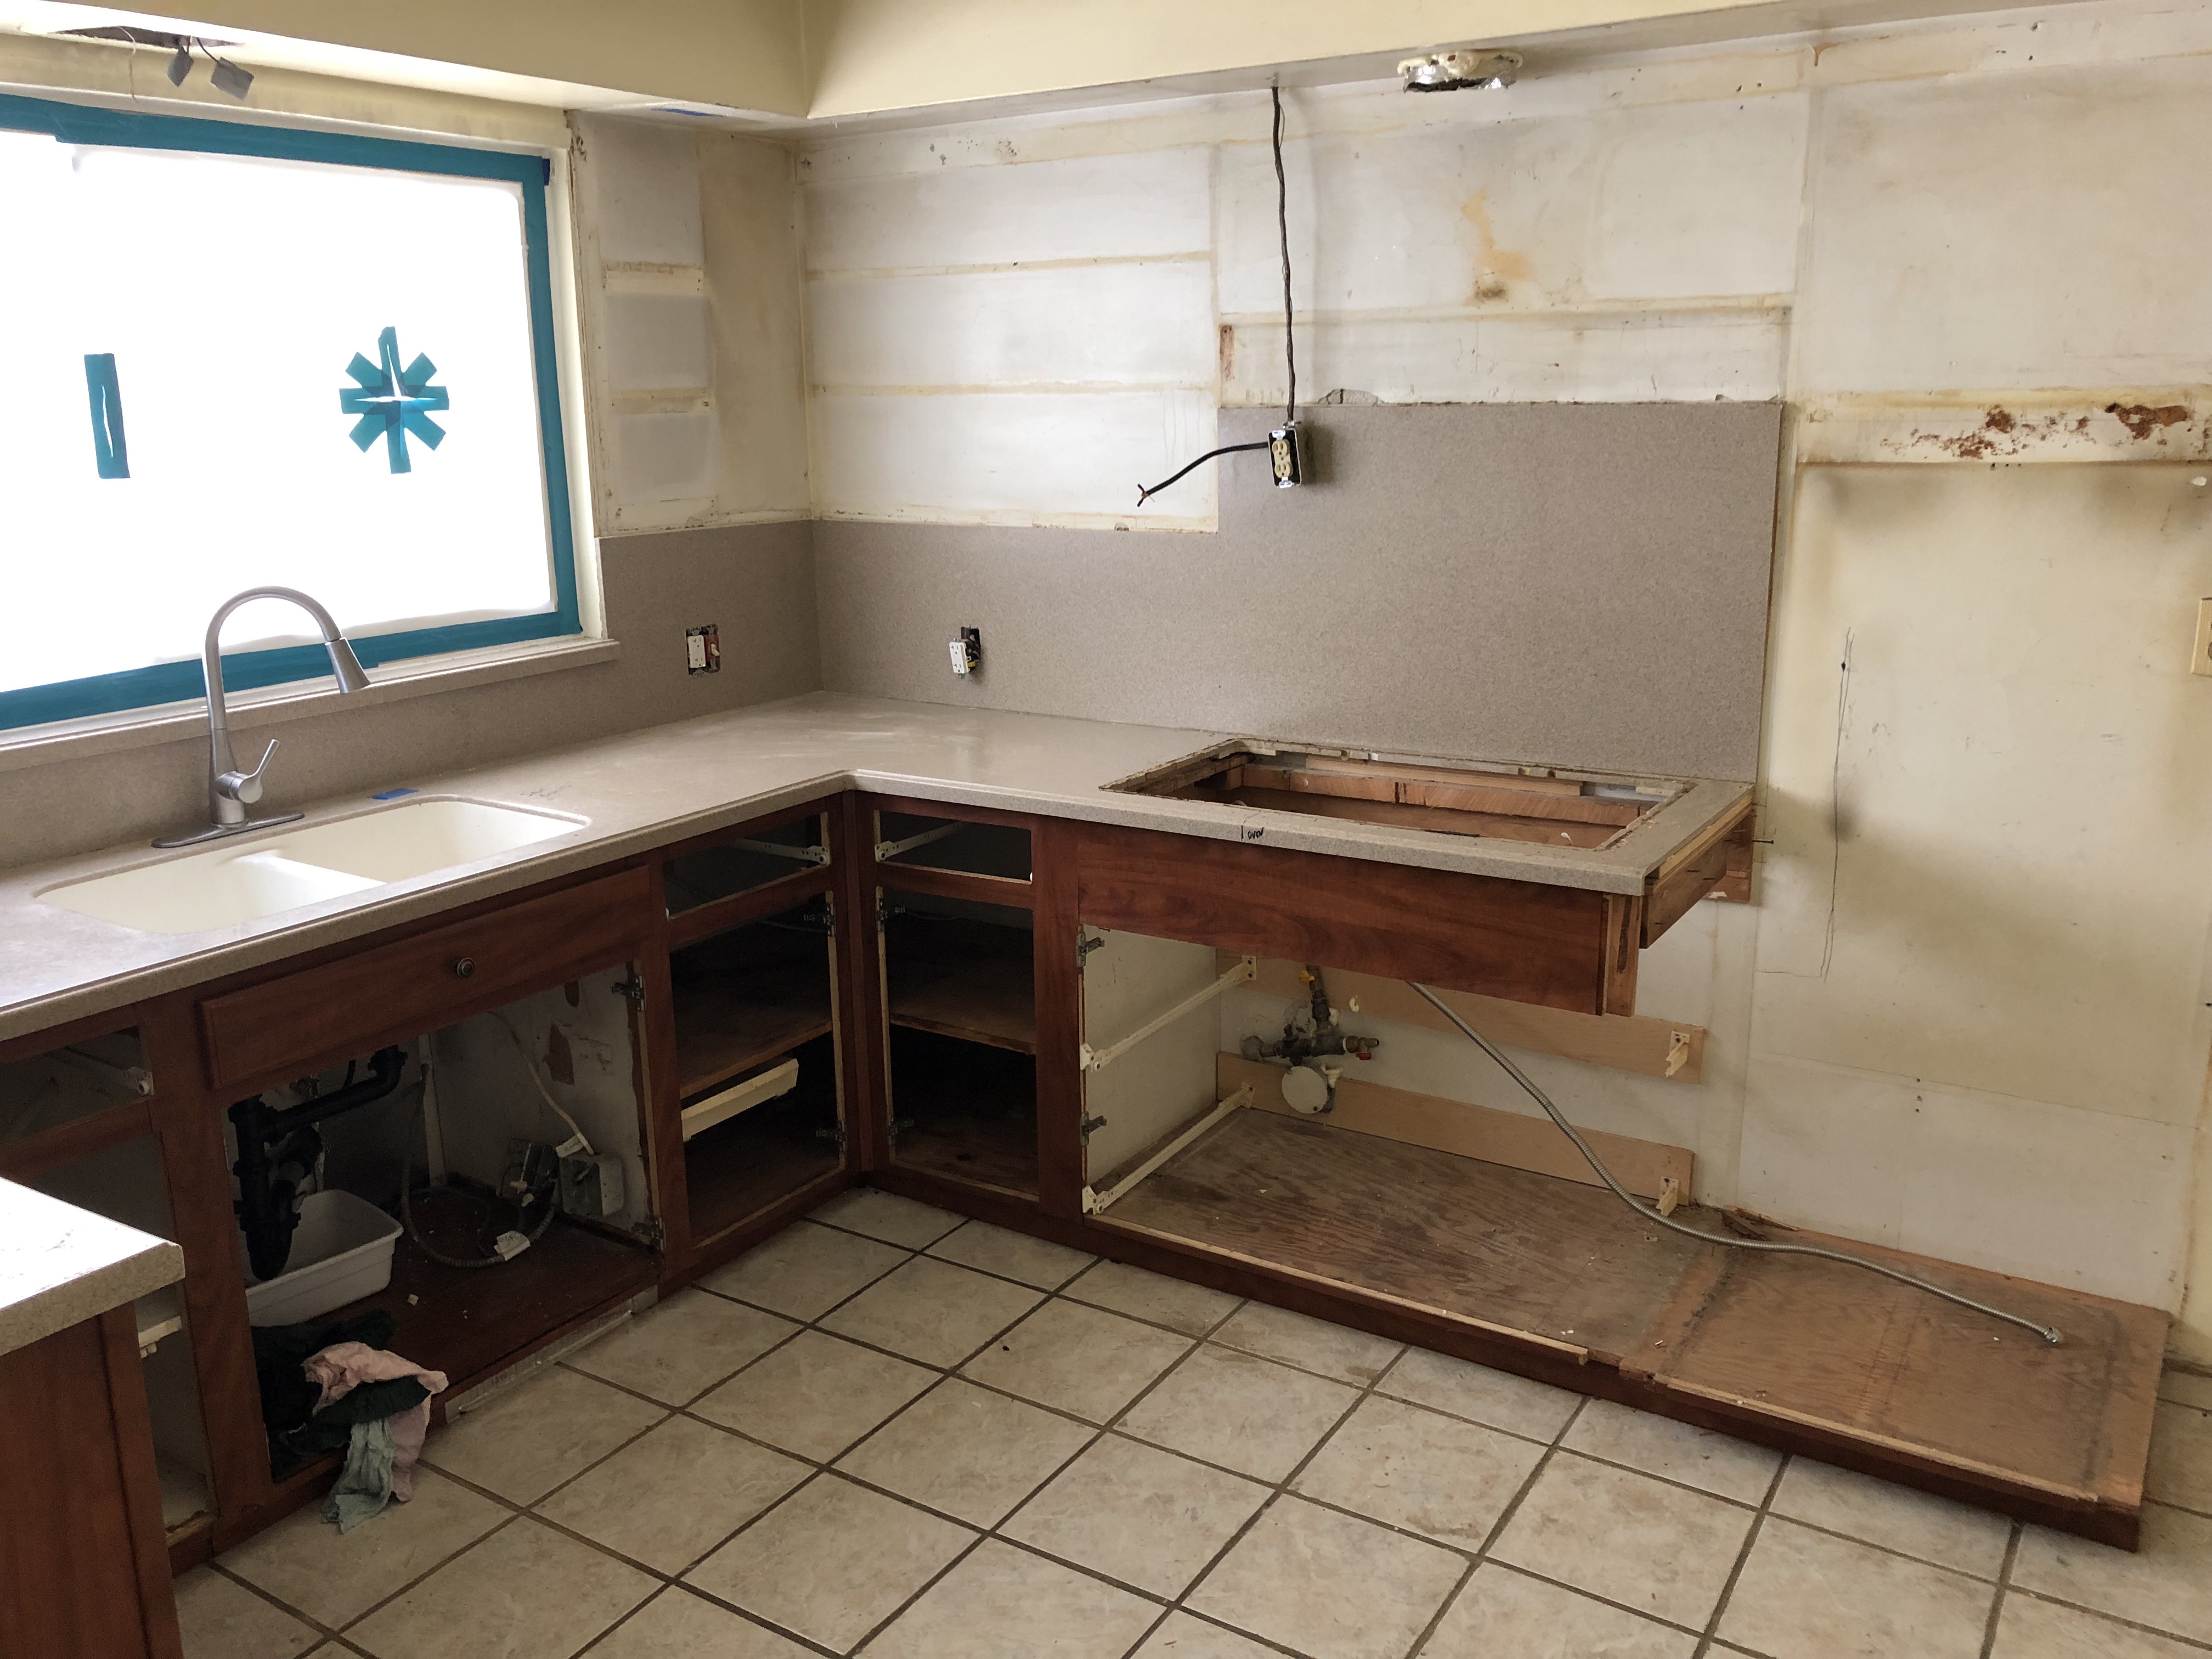
Lets
start with some before pictures. Due to a giant 5 burner range and a
separate over/broiler drawer unit, the kitchen had no counter space
worth speaking of. There was also a 12" soffit above the cabinets where
the kitchen exhaust duct-work exited the side of the house. The solid surface
countertop had a giant crack in it next to the range that would open
wider every time the area got warm. The sink was part of the molded
counters, making a complete counter/sink replacement necessary
Now for some demolition pictures!
And here it all is, loaded in the back of a sprinter van. Say goodbye!!
We took this opportunity to open up the wall a bit too. Can't find a picture of the original, but the blue line marks the original standard-width door opening that was once here:
You can also see from the above picture how are walls of our house are constructed: chicken wire and plaster, not wall board.
Framed up and new wall board installed.
Now time for the finished product. I'll include some side-by-side images to show the transition.
Here's one of the neat things we did to keep all of our newly-won counter space open. The microwave is not an everyday appliance here, so we keep it in the lower cabinet adjacent the oven. We installed an outlet behind that cabinet so it's fully functional and ready to go when needed! Toaster oven gets stored down there too, but I bring it out to use it.
Here's an overhead Before and After:


Next was the pantry. Once we started the demo, we realized that the previous owner had framed in a full size door opening to accommodate an antique glass panel door from his parent's house. It was a just under a 24" door (it was half of a set of french doors) and with the way he'd built the 'G-shaped' wrap-around shelves in pantry's interior, I had to turn sideways to even get inside the walk-in pantry.
We took the pantry walls down to the studs and added a new 28" door, new wall board, shelving, and spice racks. Here's the finished product:
Thanks for looking, we were excited to finally share this amazing improvement with you!