Hello there! I wanted to pass along a couple of photos of our weight lifting room. It's one of the spare bedrooms (houses in TX are cheap) that allows me to enjoy the comfort of A/C during the hot summer months. This started back in December of 2015: I had a smaller weight bench set, but the weights were moving up to where I would need a safer way to lift: a power cage with safety bars. Here's the progress!
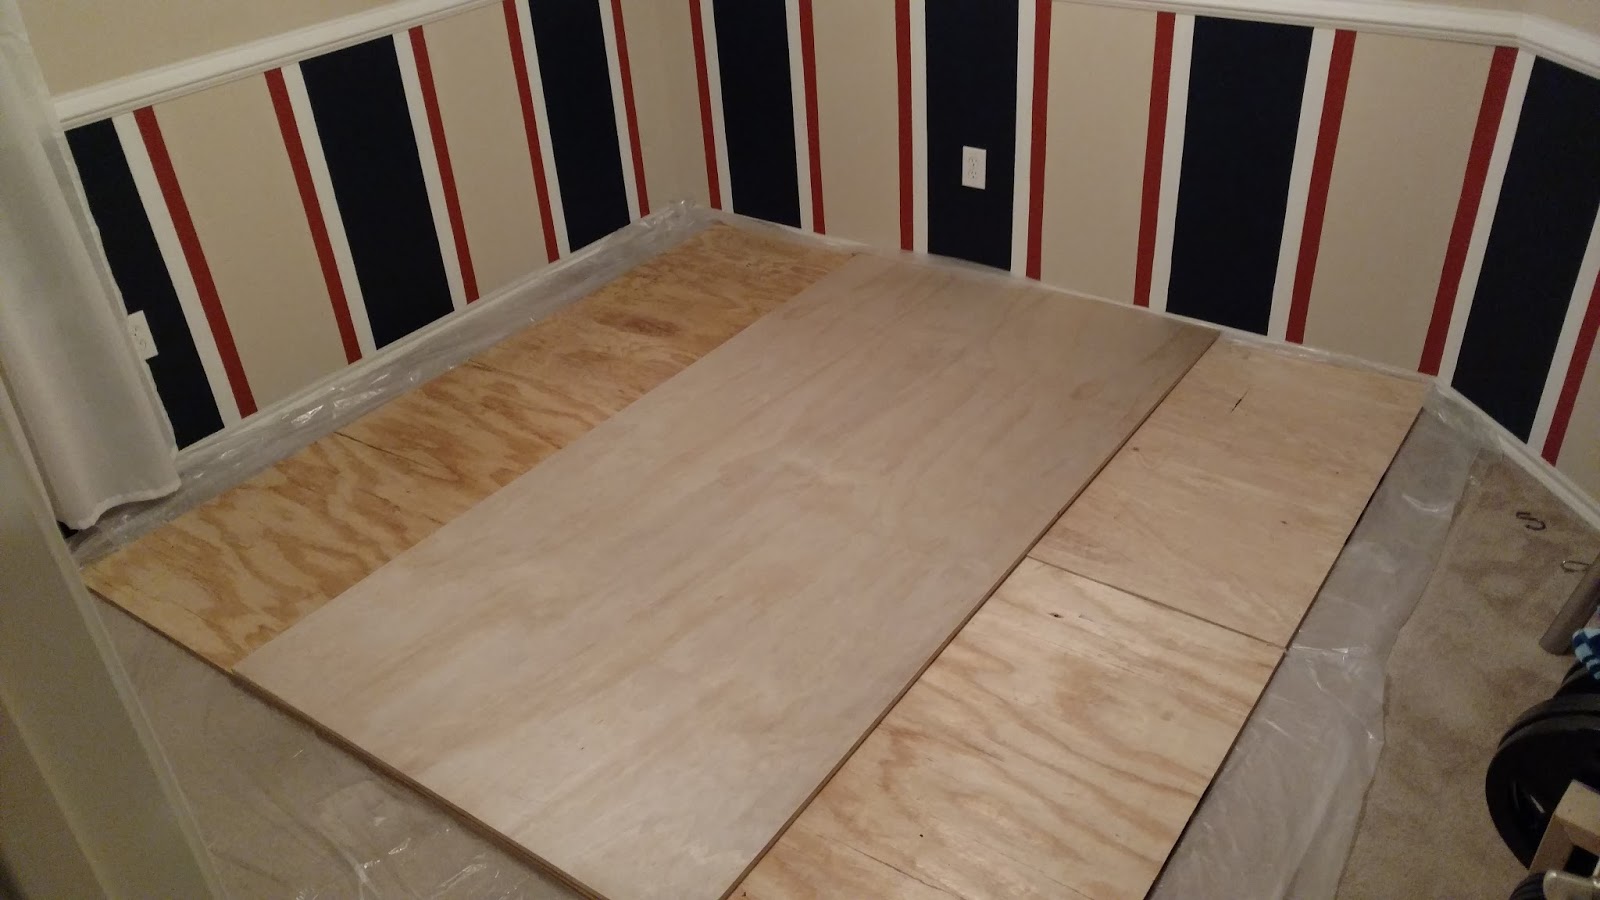
Now fast forward to August of 2016. I've just sold my old weight bench and have a power cage on order. Here's the beginning of my weight lifting platform. It'll provide a solid floor to both lift on and support the power cage, as well as have hard rubber sides out in front on which to perform deadlifts. 2 sheets of standard 1/2" thick plywood underneath, and a single sheet of 3/4" sanded plywood on top. Plastic drop cloth underneath to protect the carpet. Next up: the rubber mat.

This is a 3/4" horse stall mat that I bought on sale from Tractor Supply. After cutting it, it'll become the sides of the platform.

The completed platform! Ready for the power rack now!

A freight company delivered it in two boxes due to the weight. Here are all of the pieces! Ready to move inside and begin construction.

Completed power rack. This platform will allow me to squat heavier weights without hurting myself. It's like having a team of spotters watching out for you, ready to take every bit of weight from you if any muscle fails.

This is one of my custom modifications. Due to the height of the ceilings, I needed a bit more clearance to press the barbell overhead. The result: custom shorter fan blades!

I made them out of some scraps of furniture grade plywood that I had. I made a little jig for my table saw, to make sure that all five blades would be the exact same size and wouldn't throw the fan off-balance.

Fast forward again to last week. Here's my current setup. The previous owners of the house added the red-white-and-blue stripes under the chair rail overtop of the beige walls. It always looked kind of funny, so I decided last week it was time to repaint!

Not only repaint, but I had the notion to make this little 45-degree wall into a brick wall.

Home Depot sells sheets of "brick" paneling for interior use. This wall just so happened to be roughly 4'x8', so it fit my plan! Only had to trim off an inch of the top and both sides, and then used construction adhesive to attach it to the wall. Instant brick wall!

Now it was time to choose the color for the wall. Mary Ellen picked out several colors that matched the colors of the brick wall's mortar, which I took to Home Depot to gather several other similar color samples to compare.

I primed the walls before starting to paint. I was leery of getting any paint to completely cover those stripes...

Color was chosen, and here's a shot after rolling the walls. Time to do the tedious part: cutting in.

After cutting in I added some cap molding to cover the edges of the "brick" wall and transition to the sheet rock. The trim looks really bright in this photo, but it doesn't stand out at all when you're in the room.


Complete! I really like the color!

Thanks for looking, and a special thank you to both Mike and Brenda for the birthday HD gift card, and to Mary Ellen for taking time to pick out some colors for us!
And yes, the dog is available. :)